Just about every person has got their own unique perception in relation to How to Install or Replace a Shower Drain.
Updating a washroom is just one of the extra popular home improvement jobs. Managing the plumbing for draining your shower can be extremely basic unless you go overboard.
Handling Your Own Shower Drain Installment Project
You can literally develop an enthusiast for your new shower, however you truly need to think about it. Do you really want to get into the difficulties of obtaining the sloping proper, and also making certain every element of it is water resistant? And I suggest every facet! It is a lot easier to just purchase a pre-cast collector online or at your neighborhood copyright, Residence Depot or hardware store. Structure one could seem like a great suggestion, however you will probably feel in different ways after a number of hours.
Regardless of just how you set about getting a frying pan, you must make every effort to use one that has the drainpipe situated in the exact same spot as the initial pan. Moving the drainpipe pipes can be a job, especially if the builder made use of a special framing framework. If you are identified to relocate the drain, you are going to need to cut back the pipeline or lengthen it, which might imply destroying big chunks of the flooring. Put another way, you are mosting likely to be looking at a numerous weekend task.
Assuming we have our drainpipe lined up, the actual hook up is rather easy. The water drainage pipe must be facing upright up to the collection agency. It will certainly typically resemble a "U", which implies it works as a cleanout to keep nasty smells from returning up from the drain. To link the drain, you are going to develop a water tight link in between a drain cap on the top of the pan and also the drainage pipe. Equipments vary, however you are typically mosting likely to do this by placing a coupling piece on the top of the drain pipeline. This is then covered with gaskets as well as essentially screwed right into the drain cap. The drain cap need to act as a locknut, to wit, it screws directly onto the combining.
The complicated part of this process is getting your drain cap to suit a water tight position in the pan. This is achieved by withdrawing the drainpipe cap once you make sure every little thing meshes. At that point, you put plumbing technicians putty around the bottom of the cap and afterwards screw it back on. The putty ought to develop a limited seal in between the cap and also the shower frying pan, which keeps water from trickling under it and into the framing under the shower.
Undoubtedly, bathroom showers come in a wide range of styles these days. If you buy a collection agency, they often included plumbing directions or the shop can keep in mind anything uncommon you must recognize. It appears intricate, yet is commonly rather easy. Enjoy!
Whether you are a bath tub or shower individual, many people search for shower only alternatives when getting a house. This basic truth implies more than a few homeowners invest a weekend break updating or setting up showers in their restrooms. Thankfully for you, it is a fairly simple procedure.
A collection agency or frying pan describes the horizontal surface situated at the end of the shower. The collection agency generally consists of a non-slip surface area somewhat banked towards the facility or any place the drain is located. Incorporated with 3 to four inch wall surfaces around the side, the goal of your shower water drainage plumbing is to get the water to flow to and also away.
How To Install & Replace A Shower Drain In 5 Steps
Replacing a shower drain, or installing one for the first time, often requires a plumber, but if you’re confident in your DIY skills then you may be able to do it yourself. Your new shower drain should come with specific installation instructions, so take time to familiarise yourself with those before you get started. There are several types of shower drain, and the one you choose or are supplied with will depend on your shower tray, your pipes and the manufacturer’s recommendations. All Mira shower trays are compatible with compression-style shower drains, which attach to your home’s drainpipes with compression washers and nuts. Here’s an overview of how to install this type of drain.
How to install a compression-style drain
Please bear in mind that these are general instructions, and you should refer to the manufacturer’s recommendations to install your shower drain.
Trim the drainpipe
The drainpipe should come up to 2cm below the lip of the shower drain. You might need to lift the shower base on to mark the right height, and then remove it again before trimming the drainpipe with a hacksaw. Ensure the cut is flat and level.
Attach the drain assembly to the shower base
Apply silicone caulk to the lower rim of the drain assembly and insert it into the shower base from the top side of the base. This should be done before the base is put in place on the floor. Press the drain assembly firmly into place so that the caulk forms an even seal.
Slide the rubber washer and slip washer on to the drain assembly from underneath the shower base, then thread the drain nut on and tighten it with pliers.
Wipe away any excess caulk that has oozed out.
Put the shower base in position
Carefully position the shower base so that the drain assembly lines up with the drainpipe and fits inside it. It’s a good idea to get someone else to help out, and it’s usually easier to set the back of the base down first, and then lower the front of the base down.
Insert the compression gasket and nut
Slide the rubber compression gasket down into the drain opening so that it fits around the drainpipe. The top of the gasket should line up with the top of the pipe, or be slightly lower.
Drop the compression nut into the drain opening and use the fitting tool that will likely have been provided and a screwdriver to tighten the nut. As you tighten it, the gasket will be compressed against the drainpipe, creating a watertight seal.
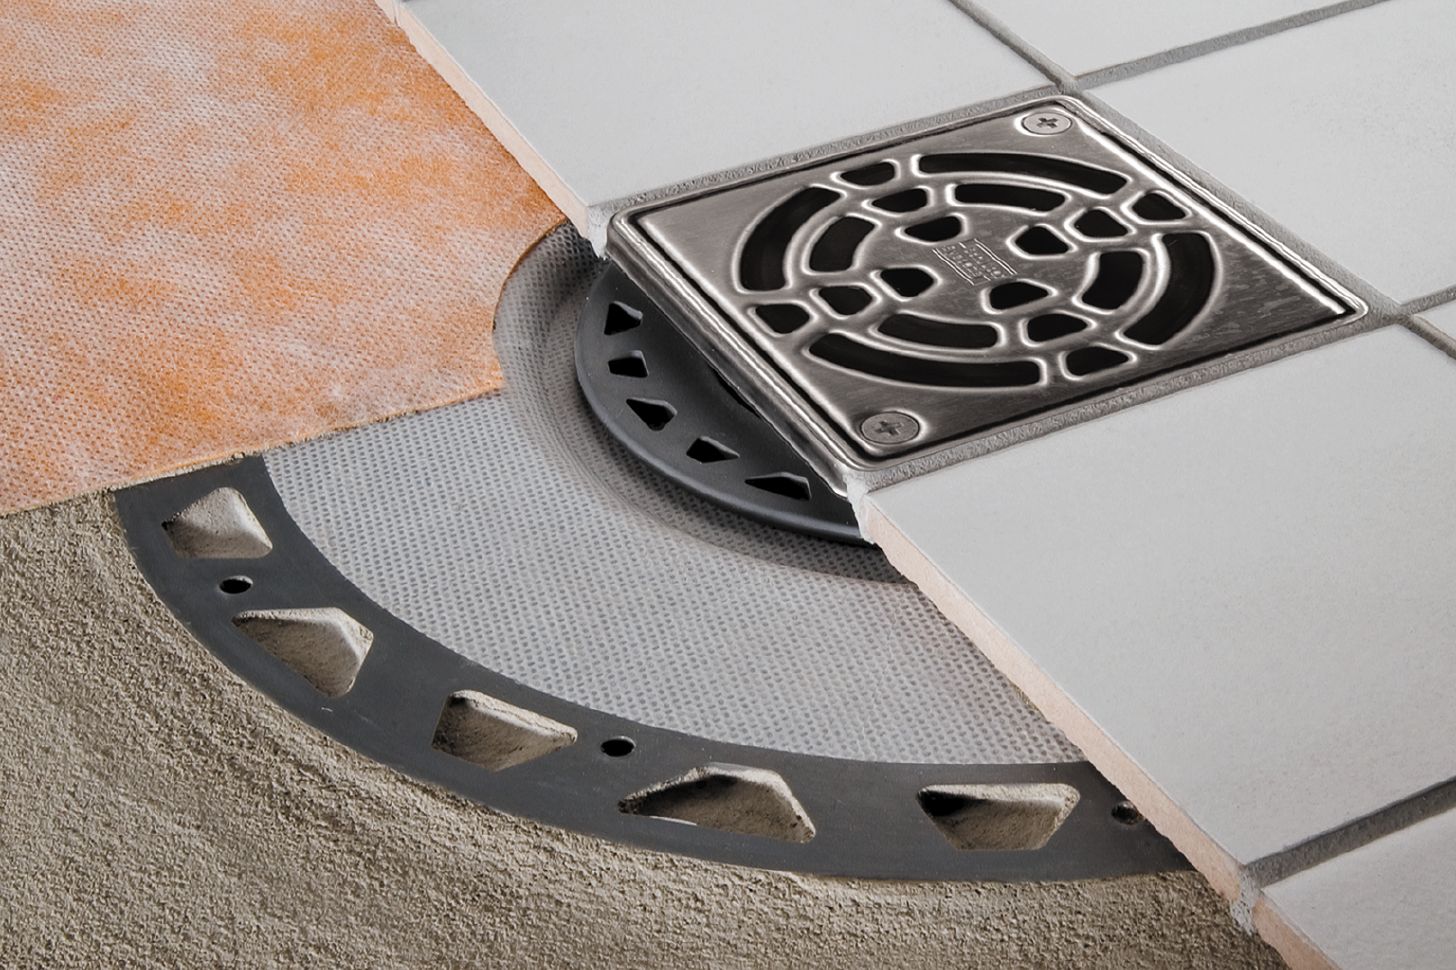
Fit the metal strainer
Press the metal strainer into the drain opening, making sure the top surface is lower than the shower floor around it.
And there you have it, a brand-new shower drain! Allow the silicone to set for a full 24 hours before using the shower.
Cleaning and maintenance of your shower drain
Shower drains can quickly become clogged with hair and a build-up of product, which can lead to bad smells and can prevent your shower water from draining efficiently.
To maintain your shower drain, clear out any strands of hair that gather on the metal strainer after each shower. We recommend cleaning your shower drain thoroughly once a month using boiling water to loosen up soap scum and get things moving.
https://www.mirashowers.co.uk/blog/how-to/how-to-install-replace-a-shower-drain-in-5-steps/

We are very involved in How to Choose the Best Drain for Your Shower and I'm hoping you enjoyed reading our post. Sharing is caring. You never know, you may just be doing someone a favor. I am grateful for your time. Please check our website back soon.
Comments on “Taking Charge-Managing-Overseeing of Shower Drain-Bathroom Drain-Drainage System Installation-Setup-Project Yourself-On Your Own-Independently”